
So you’re at the thrift shop or the antique store and you come across the perfect lamp. The only problem? The cord is old and unsafe. Thankfully, that’s an easy fix! Rewiring a lamp is simpler than you may think. Plus, once you know how to rewire it, you can also choose the plug type, cord color, and length that works best for you. You may even start rewiring new lamps just for those reasons alone!
When should you rewire a lamp?

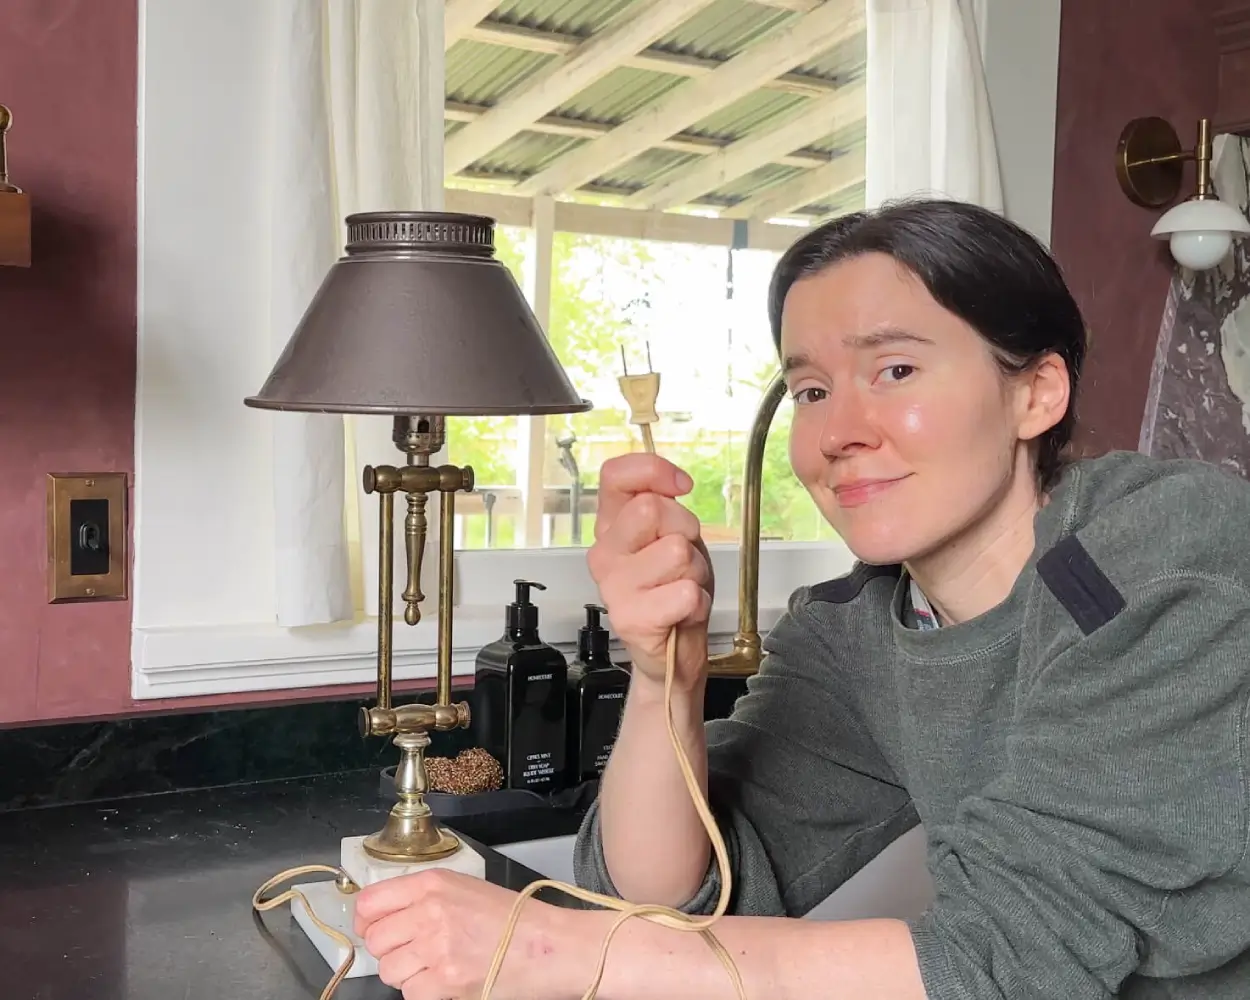
Unlike many other modern appliances, lamps do not need a three-prong plug. You’ll find that most modern lamps still use a two-prong plug. So if that’s not the issue, how do you know that a cord is unsafe?
First up, look at the two prongs closely. Is one bigger than the other, or are they the same size? If the prongs are different sizes, you have a newer polarized plug. In 1962, the US National Electrical Code mandated that all plugs and receptacles be polarized and grounded. That means that nowadays when you try to plug in a polarized plug to a polarized socket, you can only plug it in one way. If you flip it around, the larger prong won’t fit in the smaller slot.

So why is that important? Well, each prong on the plug is wired differently. One of them is connected to the hot wire in the cord, and the other prong is connected to the neutral wire. In an old non-polarized plug where both prongs are the same size, it is impossible to tell which side is which. And since both prongs are small, they can easily fit in either slot of modern polarized electrical sockets.
And that matters because if you accidentally connect the hot prong to the neutral side of the socket or vice versa, there is a higher risk of electrical shock. So if you find a lamp with a non-polarized plug, it’s always best to rewire it.
You should also rewire your lamp if any of the cord is in bad shape with torn or missing sheathing, and especially if any wires are exposed.

If the lamp cord itself is fine but the lamp just won’t turn on, first check the lightbulb. If that’s not the issue, you may just need to replace the switch rather than fully rewire the lamp, which is a much simpler process. Learn how to disconnect your old switch in Step 1 and then skip to Step 3.
Project supply list
This post may include affiliate links, which means I may earn a small commission if you click on the link and/or purchase from that site. I use that money to keep this blog running. You can read my full disclosure policy here.
Step 1: Disassemble your lamp
First things first, make sure that your lamp is unplugged! It sounds like common sense, but you can never be too careful with double checking things, especially when it comes to electricity. Then, remove the lightbulb and set it aside.


Every lamp is built differently, which means that the wire may run through it in unexpected ways. If you have a classic lamp with a cylindrical base, your lamp wiring is probably pretty simple to figure out. The cord likely runs up from the bottom of the lamp, through the cylinder, and up to the socket at the top of the lamp.
But if your lamp base design is more unique like this antique lamp I found, you may have to get a little creative to access all of the pathways for your wiring. For my lamp, I noticed that one side of the lamp base had components that could be loosened and tightened. Some of these helped to change the angle of the lamp, but I realized that others were actually screws holding the pieces of the lamp together. Once I unscrewed them, I could access and remove the wire within.


Before you can remove your wire, you must disconnect it from the socket. The socket is the part of the lamp that contains the switch. Take a close look at the socket and you should notice that it’s actually two parts that have been snapped together along a line of ridges. This connection is usually right under the switch. If you hold both halves of the socket and give them a twist or yank, you should be able to pull them apart.
Then, pull off the top half of the socket off to expose the switch wiring. Here you can find the screws that you need to loosen to free up the wires from the cord. Once they’re free, set the switch aside and you should notice that underneath, the wires were tied into what’s called an underwriter’s knot. This knot is a safety precaution. If someone comes up and yanks on the cord, the bouncy knot prevents the tension from reaching the wires in the switch and pulling the live wires out the lamp base. Untie this knot, and you can now pull the cord out from the base of the lamp.


Take a look at the bottom of your lamp base. Especially if you’re working with an older lamp, you may find that it’s covered in felt. This is nice because it prevents the base from scratching tables, but it’s also there to cover the cord access. Peel back the felt, and you’ll now have easy access to the cord to pull it out and remove it—and add the new one later!
Step 2: Run the new wire through the lamp


Now that you’ve removed the old cord, retrace your steps with the new cord. Start from the bottom at the entry point and work your way up through the lamp base to the base of the socket.
This can be easier said than done, especially if you have a more complicated lamp like mine where the wires need to be guided through multiple small passageways. But if your lamp design is very simple, congratulations! This step should be simple for you.
Step 3: Customize your cord length and socket

Now it’s time for the customizations! In addition to picking what kind of socket, switch, and cord color you want on your new wiring, you now also get to pick the length of your cord. This is especially great if, like me, you hate messy cords and want yours to be close to the exact distance between your lamp and its wall outlet. Just keep pulling your wires up through the socket until the length of the cord with the plug is what you prefer.
If you want to switch out your socket, now is also the time to do it. You should be able to twist to unscrew the base of the old socket to remove it. Then, thread the base of your new socket through the wires and screw it back into the lamp base.
Step 4: Connect the wires to the switch
Now it’s time to learn some basics about electrical work. Take your wire strippers and use the cutting attachment to snip off the excess end of your cord above the socket (NOT the end of the cord with the plug). Leave at least six inches of excess cord above the base of the socket so that you can tie your underwriter’s knot. Pull apart the two wires on the cord and tie your knot.


Then, use the appropriately sized stripping slot on your wire stripper to remove the sheathing from the end of each wire, leaving 1″ of wire now exposed. Connect the hot wire to the hot screw on your switch. Usually the hot screw is gold, but otherwise check the manual of your socket if it’s new. Then, connect the neutral wire to the neutral screw, which is usually silver.
Because the two-wire cord is exposed and it would look strange to have the wires be different colors, you unfortunately will not be able to tell the hot and neutral wires apart by color. If you were wiring a ceiling light, the hot wire would typically be black and the neutral wire would be white. But on cord wiring, the differences will be more subtle. Run your fingernail along the sheathing of the two wires. Does one feel like it’s ribbed or has stripes running down it? Or does it have small writing on it? That’s the neutral wire.
You can use your needle nose pliers to twist the 1″ piece of exposed wire in a U shape in the clockwise direction of the screw, then hook it behind the screw, and tighten the screw down. Twisting the wire in the clockwise direction means that as you’re tightening the screw, you’re tightening the twist and grip of the wire. If you twist the wire counter-clockwise to start, tightening the screw clockwise may unravel the wire and weaken the connection.
Step 5: Finish reassembly
Now that your wiring is complete, you can pop back on the top of the socket that hides and protects the switch wiring. Remember that the top half needs to snap into the bottom half of the socket, so keep pressing down until you feel it snap into place and you can no longer move the pieces separately.
Now, you can screw in your lightbulb, plug in your lamp, and flip the switch to check that it’s working. If it doesn’t light up, make sure that your lightbulb isn’t the culprit. If the bulb isn’t to blame, unplug the lamp, reopen the socket, and check that your wires haven’t come loose from the switch.


I had the very unfortunate luck of ordering a wire that was a complete dud and had to order a new wire and redo this whole process. So be careful what you order, but I can definitely vouch for the cord in this lamp rewiring kit. I chose to use a different socket so that I could get a fancy metal one that looks more authentic to the old lamp and also has a dimmer.

Once the lightbulb turns on, congratulations! You now have a perfectly rewired lamp.
Is it easy to rewire an old lamp?
Yes, definitely! Especially if you have a simple lamp with a cylindrical base, you will find it easy to remove old cords and string in new ones. From there, you just need to learn a few simple electrical wiring techniques to finish your project. But if you have a lamp that’s more like a chandelier with multiple different bulbs, each of those bulbs is fed by a different wire, and it will be difficult to DIY. This is when I’d suggest you seek out the help of a professional.
Is it safe to rewire a lamp yourself?
Yes, rewiring a lamp is typically easier and safer than you might think. As long as you remember to always unplug your lamp before working on the wiring and make sure to connect hot to hot and neutral to neutral in the switch, you’ll be good to go.

Want to learn how to tackle more DIY projects in your home? Check out my course DIY Renovation for Beginners.

Maybe add a section on using the ohm-meter function of a multimeter (a basic model is available on amazon for less than $20) to verify which wire is connected to broadened plug blade (neutral) and which wire is connected to hot blade of plug. If one is just replacing a socket without replacing the wire, and there are no markings, or color difference or ridges, without pulling the cord completely out of the lamp body it would be difficult to know which wire is hot and which is neutral at the socket end., but the multimeter can be used to determine this.
Thank you and know I wish we had covered porches like that in South Florida! ♥
Hi Renee,
I am so impressed with the detailed information that you provide here as to the method and importance of rewiring older lamps. I restored vintage lamps and lighting in a restoration shop for over 40 years and believe me, I have seen some scary sockets, cords and switches. Rewiring these vintage pieces will not only make them safe and functional again but will allow them to be passed on for another generation to enjoy. Thanks so much for sharing this great advice!