
Do you have a beautiful plate, bowl, basket, artwork, or trinket that you want to turn into a wireless sconce? Here’s a step by step breakdown of how to do it on a budget. No drilling or power tools required… this is a very beginner-friendly DIY project!
Project supply list
This post may include affiliate links, which means I may earn a small commission if you click on the link and/or purchase from that site. I use that money to keep this blog running. You can read my full disclosure policy here.
- Rechargeable magnetic lightbulb
- 6″ globe shade
- 3-1/4″ uno shade holder
- 1 or 2 small magnets
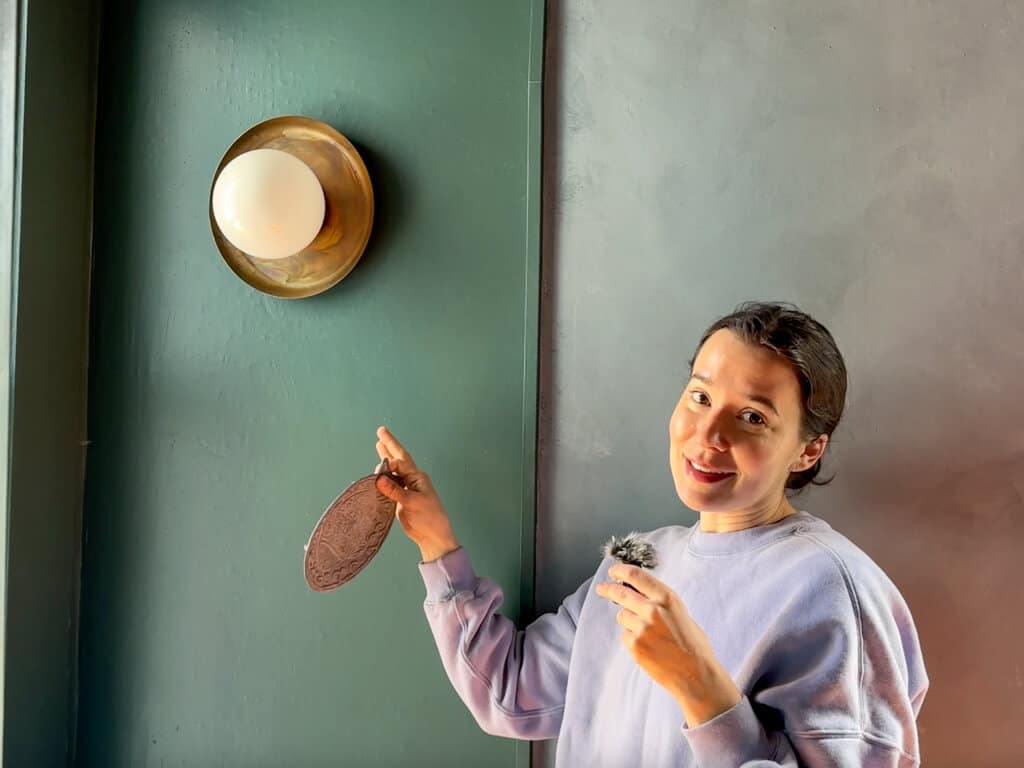
- Clear Gorilla Glue
- Command strips or plate hanger (optional if not mounting)
- Plate, bowl, basket, etc. of your choosing
Step 1: Ensure the globe fits your object


This particular DIY requires the globe shade to fit on your object. This likely won’t be a problem for large plates or other flat items.
But if you’re using a bowl, you should double check that the shade fits comfortably and that you will later be able to reach inside and tighten the set screws on the uno shade holder. If you can’t do this step, there won’t be a way to safely secure the shade to your bowl.
Step 2: Prep your object for assembly

Ensure that your object is free of dust and grime so that the glue in Step 3 will properly bond.
If you plan to place the globe shade in the center of your object, now is the time to mark the center point. This step is very important, so take your time to double check your measurements and make your marks.
Step 3: Glue on the shade holder and magnets

I used the rubbed bronze shade holder for my project, but you can use whichever finish you prefer. I do suggest that you use this brand and product because I can guarantee you that 1) it fits the shade, 2) it fits the bulb, and 3) it’s high quality.


Rub the back of your shade holder with a damp cloth. Gorilla Glue requires one of the surfaces to be damp for proper adhesion. Then, apply a bead of glue around the back of the uno shade holder, and press it onto your object. If you plan to center your globe, make sure the shade holder is positioned directly over your center mark.

Some glue should spill into the center of the shade holder as you press it down. If not, apply a couple more dabs and then press your magnets into the glue. The magnets are what your magnetic lightbulb will stick to. You probably only need 1, but I like the security of 2. Be aware that the magnets want to stack on top of each other, so hold the first one down with one finger while you set the second magnet in the glue.

This is also your last chance to double check your shade holder placement before it’s set in stone, so check your measurements one final time.

Gorilla Glue does require clamping, which you can accomplish by setting a heavy object on top like a book or, in my case, a tub of spackle. You should clamp for a minimum of two hours, but for best results, wait overnight. While you wait, be sure to plug in and charge your wireless lightbulb.
Step 4: Install the lightbulb and globe shade

After the clamping period, you can remove your heavy object and begin final assembly. Set your charged lightbulb down on the magnets; it should happily snap into position. Press the power button on the lightbulb and test it with the remote to make sure it’s set to On before you install your shade.

Then, unscrew the set screws on the uno shade holder enough so that you can put your globe shade on top and it will rest on the bottom of the shade holder. Then, tighten the set screws just enough that they hold the shade snug—but don’t tighten too much or you may break the shade.
Lift your object up to make sure nothing is loose and everything looks good to you.
Step 5: Mount your new wireless sconce (optional)


Now that your wireless sconce is complete, you can use it wherever you want—on a table, as a ceiling light… the sky’s the limit! But if you’re like me and want to mount it on the wall, you can use a heavy duty Command strip that is rated for the weight of your sconce or for added peace of mind, a proper plate hanger. If your sconce can be punctured like a basket or has a hanging loop or bracket, you can use a nail or screw instead.


Now the fun part: Use the lightbulb remote to control your wireless sconce! You can choose from multiple warmth options, dim the light, and even set it on a timer.
To recharge your bulb down the road, simply loosen the set screws on the shade holder, remove the shade, and pop off the lightbulb for charging.


I hope you found this tutorial helpful! I personally can’t wait to turn more unexpected things in my own home into sconces. In a way, it’s like creating your own piece of art. As long as the globe fits, there’s no limit to your imagination.
PS: If you want to learn how to use power tools and gain the skills to tackle your own renovations, check out my course DIY Renovation for Beginners.
